Home

Kindergarten Activity No. 54 : Symmetry

The following activities will help children to be able to identify objects/shapes that are symmetrical and to copy patterns to achieve symmetry.

What is symmetry?

An object that has symmetry can be divided into identical pieces.  An object that has reflectional symmetry is like a mirror image. At this stage it is not important that the children know the word reflectional symmetry. They must understand the concept of symmetry. One example of mirror image symmetry is a butterfly. When a butterfly folds its wings, it is easy to see that the wings are the same on both sides.


Activity 1:

For this activity you need:  a piece of paper, some paint, and a brush.

This simple artwork will help children understand symmetry easily.

  • Fold a piece of paper in half.


  • Give your child some paint and a brush.


  • Ask him/her to paint something s/he likes on one side of the paper only. (As indicated in the picture)
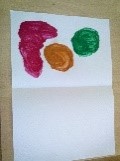
  • Before the paint dries, fold the paper in half and press.
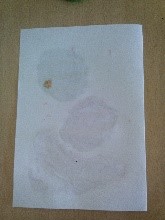
  • Open the paper to reveal the print. Point out to your child that what s/he painted on one side of the fold is now visible on the other side of the fold.
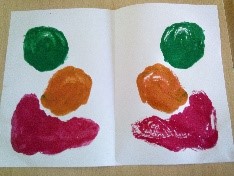
You can follow this video https://www.youtube.com/watch?v=042uDqg2k3g to complete the above activity.


Activity 2:

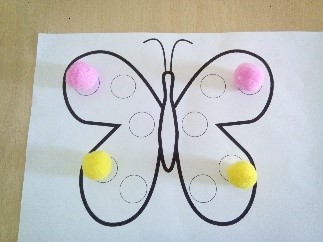
For this activity you need:  a print-out of the butterfly and some coloured pompoms of the same size.

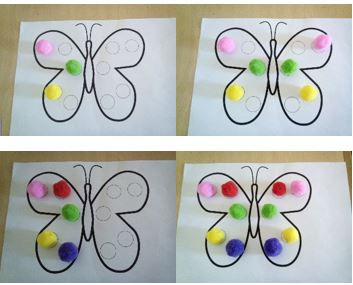
Explain to your child that to achieve symmetry s/he needs to copy the pattern exactly as it is.

  • Print the butterfly to show your child how symmetry can be achieved. click here for printout: butterfly print-out
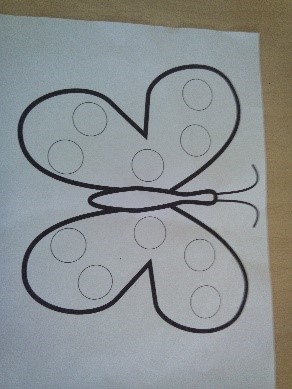
  • Take the pompoms. Make sure you have 2 pompoms of each colour.


  • Place one or two pompoms on one side of the butterfly. Ask your child to copy the pattern on the other side. (As indicated in the pictures).
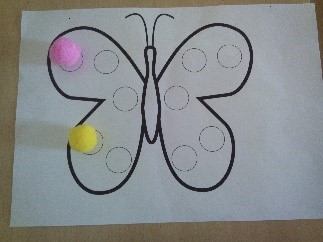
  • Increase the number of pompoms gradually.
Following is an online game. In this game your child must complete a picture by finding the other symmetrical half.

https://www.topmarks.co.uk/symmetry/symmetry-matching


Ms Maria

K1.5

Kindergarten Activity No. 53: Planting a Flower Seed

Planting a Flower Seed

Planting is a children’s favourite gardening and science activity. Children like to observe the plants’ growth and at this time of year this would be a great activity to carry out with your children at home.

Children fascinate themselves watching the first green shoot coming out of the soil. They enjoy taking care of their plant by watering it.

During this activity you can use different seeds so that children can compare their sizes and appearances.

Children can benefit and acquire different skills from this gardening activity such as:

  • develop patience while waiting for the seed to grow into a flower,
  • learn about how to be responsible while taking care of the plant,
  • learn about the life cycle of a flower,
  • develop fine motor skills,
  • spend quality time and create a bond with the parent.


Click here for a child friendly video explaining how plants grow.

Before starting the activity, watch this online story.

We plant seeds – Click here

For this activity you will need:

  • soil
  • pots
  • seeds
  • water spray bottle
  • water
  • scoop

Steps how to plant a seed:

  1. Give your child some soil, and ask him/her to fill the pot, leaving about 2cm, to the top. Encourage him/her to count out loud each time s/he scoops the soil.
  2. Place some seeds on the palm of your child’s hand. Encourage him/her to count how many seeds s/he has before planting them.
  3. Once the seeds are planted ask your child to place a little more soil on top of the seeds and to press lightly.
  4. Explain that the seeds need water to grow. Give your child a spray bottle so they can mist the soil.
  5. Ask your child to find a place in the house where to put the planted seed. The place must have enough light for the plant to grow.  This could be a windowsill, a yard, or a balcony.


Below you can  find a worksheet the children can do about the life cycle of a flower.

worksheet life cycle of a flower


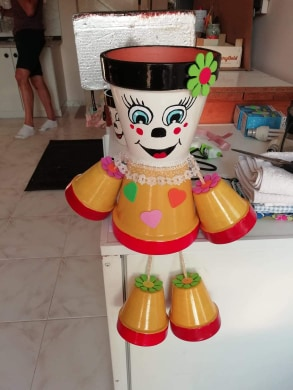
You can also take this activity a step further and create a cute clay pot doll for your plant. This would be an ideal gift for Mother’s Day. Children can paint and decorate the clay pot however they like with any materials they want such as paint, glitters, markers, buttons, beads, cloth, felt, etc… This needs to be done before planting the seeds, so that it will dry completely.

Click here to watch these YouTube videos showing you how to make cute clay pot dolls.

Clay pot people

DIY Clay pot people


I would like to take this opportunity to wish you all the love, health, and happiness that you deserve. Happy Mother’s Day!


Ms. Maria

K2.2

Kindergarten Activity No. 52 : Mother’s Day flower craft


A mother is like a flower; beautiful and unique.


As you all know next Sunday is Mother’s Day. Usually, at this time of the year, at school we prepare a craft for this special day.  Today I have prepared a flower craft for you to do with your child.

It is important that before you start doing this craft your child understands what Mother’s Day is.  Start by getting a calendar. Children are already familiar with the days of the week and months of the year since at school they do the calendar routine every morning.  Go through the months of the year and find May. Then go through the days of the week and find Sunday 10th May. Tell your child that this is a special day because it is Mother’s Day.

Explain that on Mother’s Day we thank our mother for all the things she does for us.  Tell your child that you are going to do a flower craft together for Mother’s Day.

This activity involves scissor cutting, tracing, painting, and gluing.  These activities contribute to the development of fine motor skills and hand eye co-ordination. Fine motor skills develop with practice and are important for handwriting.

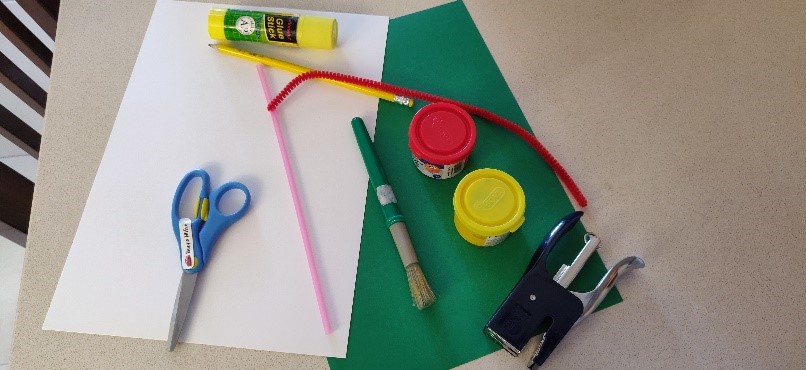
For this craft you need:

  • 1 white A4 cardboard paper
  • A piece of green cardboard paper for the leaves
  • A pencil
  • A pair of scissors
  • Paint (choose two different colours)
  • A paintbrush
  • 1 pipe cleaner
  • A Straw
  • Glue
  • Stapler

Method:

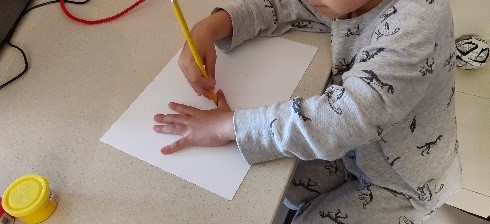
  • Encourage your child to trace his/her hand twice on the white A4 cardboard paper. Please note that some children might need help to do this.


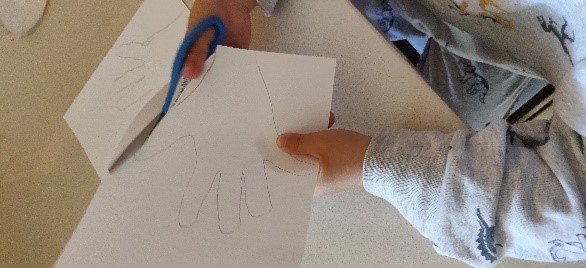
  • Encourage your child to use the scissors to cut the handprint out. Do not seek perfection.


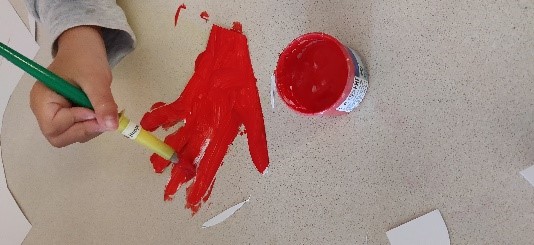
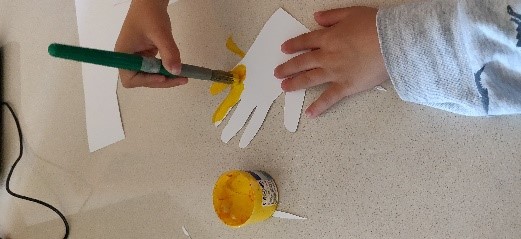
  • Ask your child to pick any two paint colours s/he likes to colour the handprints. If you are using one paint brush it is important that you clean the brush each time you change colour. Once the colour is dry, paint the other side of the handprint.

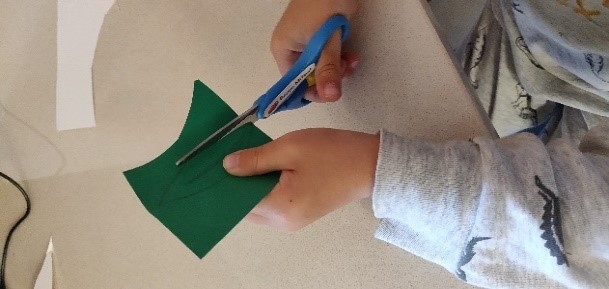
  • Help your child draw 2 leaves on the green paper. Alternatively, you can draw the leaves on a white paper and colour them. Use a pair of scissors to cut the leaves.

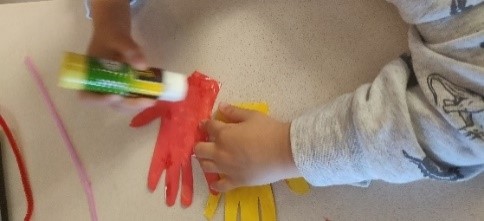
  • Once the paint is dry, take the handprints and put some glue on the palm of the each print.

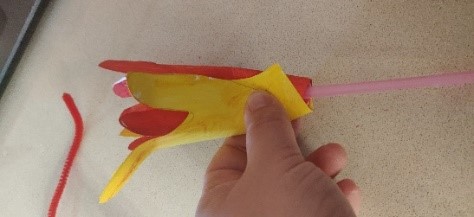
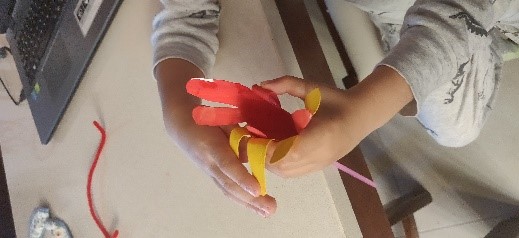
  • Take one handprint, fold it, and glue it together, leaving a space to insert the the straw. Then wrap the other handprint around the first handprint. Now insert the straw and press firmly. (As indicated in the picture).

  • Ask your child to gently roll the finger tips outwards to form petals.


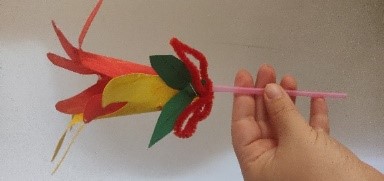
  • Glue the leaves to the straw, then turn the pipe cleaner around the straw to form a bow. You can staple the bow and the leaves to the straw in order to hold firmly. (As indicated in the picture)

Dear children now you have a beautiful hand made flower to give to your mother. You can spray some perfume to make it smell as a real flower.

Hope you enjoyed it!

Attached you can also find a song you can sing to your super mummies on Mother’s Day.

https://www.youtube.com/watch?v=HL5GUuK49Ag

Happy Mother’s Day!

Ms Rosanne Mifsud