Measurement – Comparing length (Long and Short)
Aim: These activities provide a hands-on opportunity for children to indirectly measure a range of objects and pictures and learn the concept of long and short.
Activity 1:
For this activity you need:
- long strips of coloured paper
- a pair of scissors
- glue
- a ‘Longer and Shorter’ handout (as seen in the picture below).
- Provide your child with the coloured strips of paper and a pair of scissors, and, under your supervision, encourage him/her to cut or rip each strip of paper into two different sizes.
- Once each strip of paper is cut into two, ask your child to compare the strips. It is important to discuss the concept of long and short.
- Once your child has grasped the concept, give him/her the handout you prepared.
- Encourage your child to glue the strips of coloured paper onto the appropriate side of the handout.
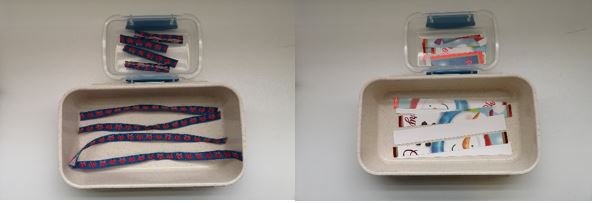
Variation:
You can also use containers and pipe cleaners (besides the strips of paper). Choose containers which are ‘long’ and ‘short’ and encourage your child to put the long objects in the ‘long container’ and the short objects in the ‘short container’. This is a concrete activity and is aimed at helping children reinforce learning.
Activity 2:
For this activity you need:
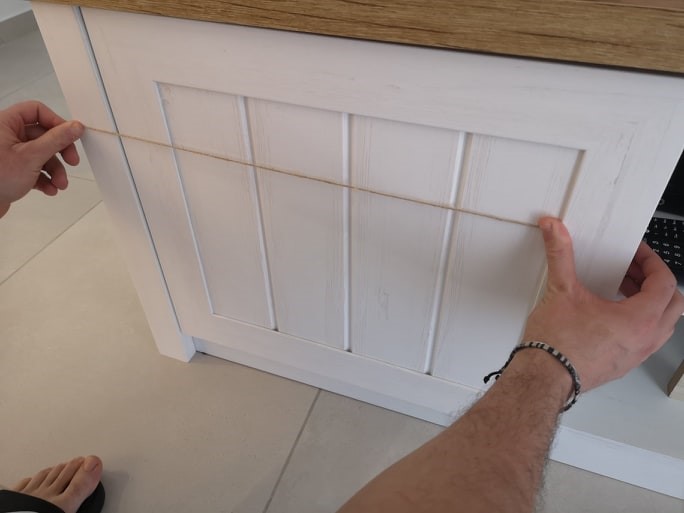
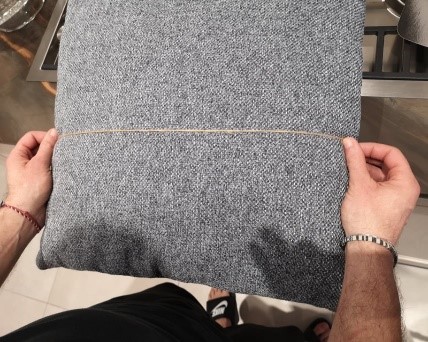
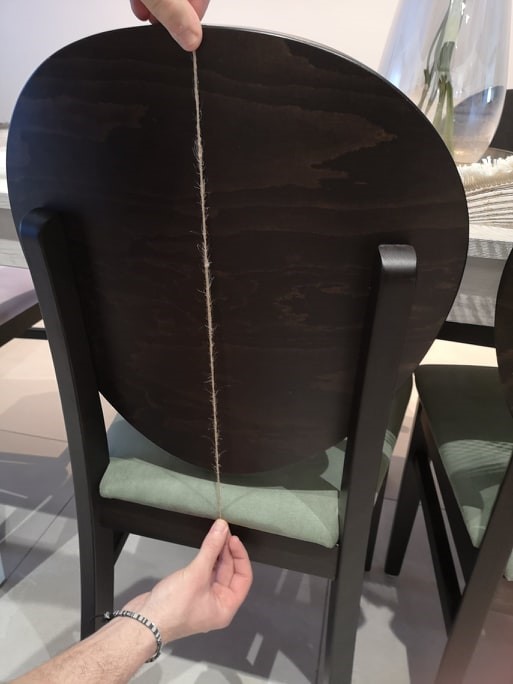
- a piece of yarn
- Give your child a piece of yarn.
- Go around the house and ask your child to point to different objects, such as toys, furniture, household objects etc.
- Ask your child to measure the objects chosen and find out if the yarn is shorter or longer than the object chosen. While measuring the objects encourage the use of the words longer and shorter.
Activity 3:
In this activity, the children are encouraged to compare the lengths of several pictures using the language associated with measuring length such as longer and shorter.
For this activity you need:
- A print-out of the this pdf file: measure. These are pictures of various objects, and a measuring mat.
- Plastic cubes or interlocking cubes. If you do not have plastic cubes you can use either bottle caps or buttons. However, if you are using bottle caps or buttons it is important that they are of the same size.
- Print the pictures attached. Each picture has either a horizontal or a vertical line drawn on it.
- Ask your child to measure the length of the line by placing the blocks (or any other object chosen) along the line and count the number of blocks used to cover the line (as seen in the picture).
- Print the measuring mat attached. Encourage your child to write the number of blocks measured onto the measuring mat next to the corresponding picture.
- Ask your child questions such as: “Which object/picture is the longest?”, or “Which objects/pictures are of the same size?
To make the activity more challenging you can encourage your child to predict which object/picture s/he thinks is going to be the shortest.
Mr Rodianne
KG 2.1
